Even though I think it’s safe to start outdoor planting, I don’t want to be held accountable for anyone’s dead plants. I’ll hold off on those tips for a few more weeks and instead talk a bit about how cool it is to start your own propagation stations.
Propagation, propagate, prop, propping; all sounds super science-ey and something that only a real plant-pro would know how to do. But if you’re looking for some thoughtful and inexpensive gifts, or you just want more of your favourite plant, you can do that by propagating!
Plant propagation is the process by which new plants grow from a variety of sources — seeds, cuttings and other plant parts. Propagation can also refer to the man-made or natural dispersal of seeds and usually occurs as a step in the overall cycle of plant growth.
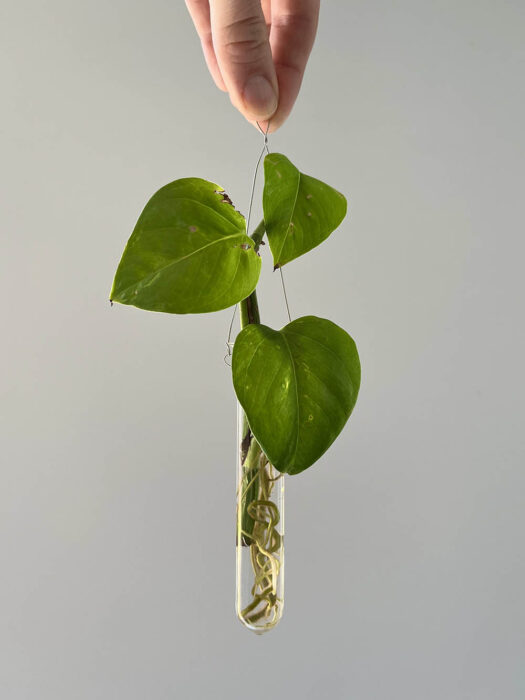
If cuttings are the route you choose, you’ll want to keep your cutting in water for a few weeks until its new roots are roughly two inches long. Then place that cutting in some soil and a pot with drainage and your freshly propagated plant will thrive.
Some plants are ridiculously easy to propagate, like the pothos plant. Here’s how I did it.
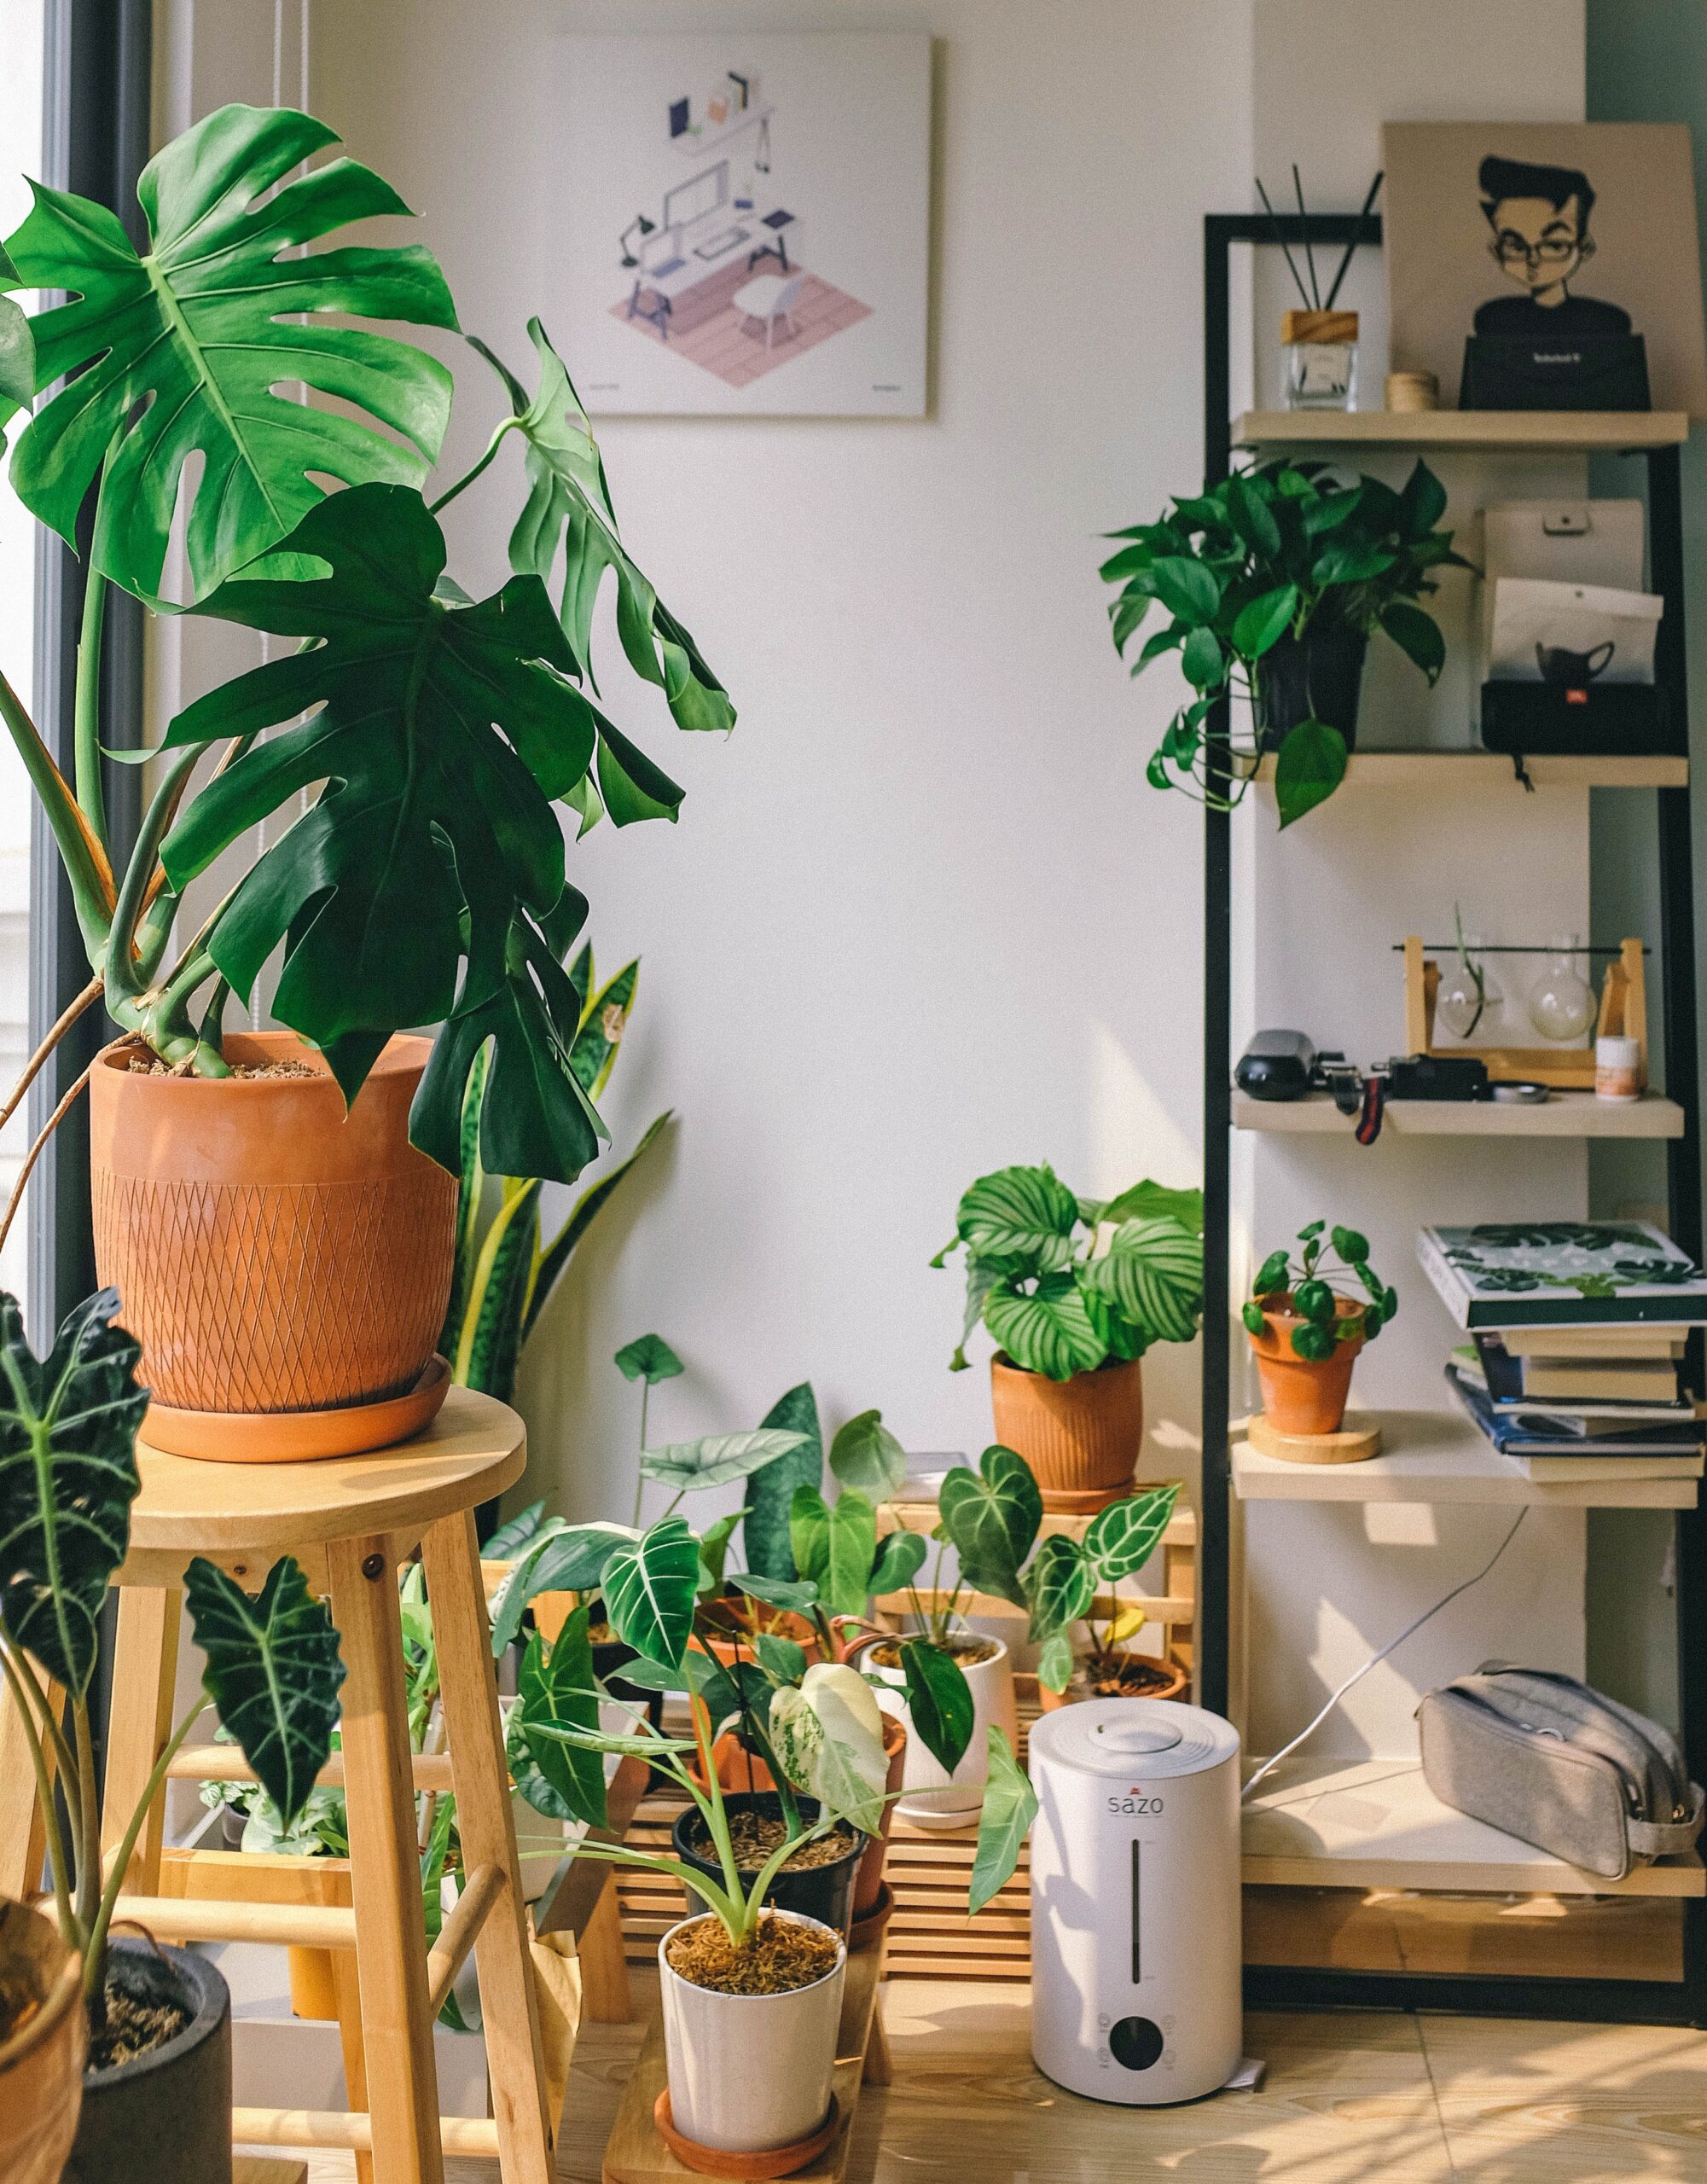
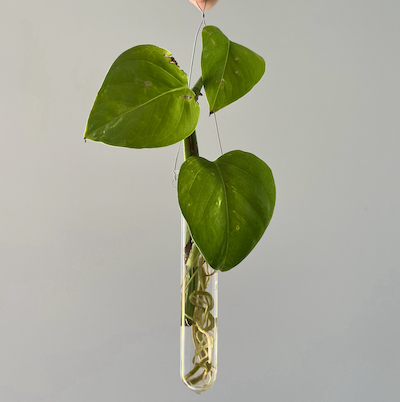
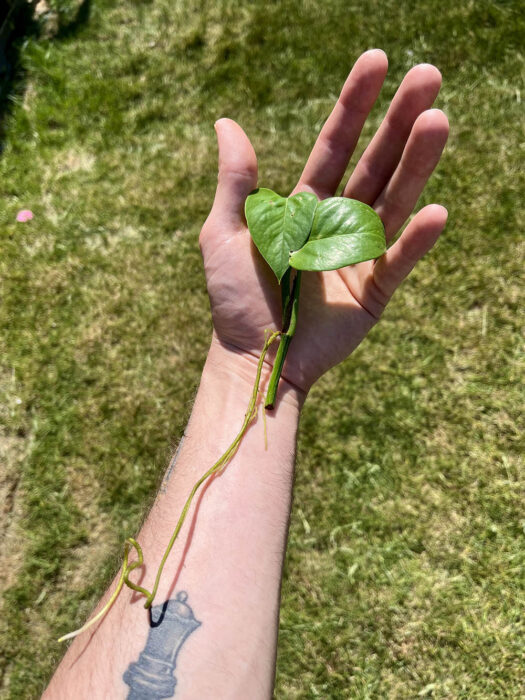
I started water propagating some pothos cuttings in March by snipping the stem about an inch below a node and placing them in test tubes I hung on the wall throughout my home in well-lit areas. And since they’ve been in the water for so long, its roots are in super good shape to be potted — I just think they look really pretty on the wall so I’m not sure when I will get to it.
It’s really important to make your cut below the node!
What is a node? Nodes are little bumps you find on plant stems. Depending on the plant, nodes may be where new leaves, roots, or stems can grow. On a pothos, its leaf nodes are the areas along the stem where leaves are currently growing.
Once you know where the nodes are on the mother plant, make sure you use a sharp clean knife or garden scissors to make your first snip (you can take as many cuttings as you’d like from the mother plant, just be careful you don’t thin it out too much). Some planters put rooting powder on their cuttings but I don’t think that’s necessary for a plant that is as easy to propagate as a pothos is. Save the powder for more difficult plants like succulents or snake plants. Not that they are difficult to root, but the rooting process can take a lot longer and I’m not a patient plant dad.
The most important thing is to put your cutting in some sort of vessel with water in it that covers the area you’ve cut by a few inches. And remembering to change the water every few days or refill the jar; you might be surprised to see just how thirsty a new prop can be. In the beginning, keep an eye on it throughout the day and make sure it is getting at least four hours of sunlight a day. Cuttings are still plants and need a lot of bright indirect light to grow.
Once you see a few inches of root growth where you cut the stem a few weeks ago, plop that prop in some soil, give it a good watering and congratulate yourself on your patience, creativity and new skill you learned.
It’s also very important to take a picture of your new propagation station and share it with me at aestheticSnail@outlook.com. I’d love to offer some help or just congratulate you on a successful prop!